

Game 3 - Hammys Swiss
Fortunately for me Hammy has already written up a detailed report, so here it is, with my comments and version in red
Hammys List is here
Sunday dawned pretty cold and miserable, the only poor day for weather of our
stay, we trekked to the venue on foot without getting wet to discover we were
near the bottom of the heap and playing Central London :(
Game 3 - Scots Isles and Highlands
CinC I Bd(O), 20 I Bd(O), 8 Ax(O), 2 Hd(F), Ps(O), - 30.5 EE
Sub I Bd(O), 20 I Bd(O), 4 Ax(O), 3 Hd(F), 2 Ps(O), - 27.5 EE
Ally I Bd(O), 8 mtd I Bw(O), 4 I Bw(O), 5 Hd(F), - 15.5 EE
Ally I Bd(F), 12 Wb(F), - 13 EE
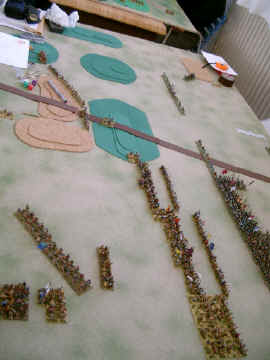
Tim invaded and went for a few small hills to negate my compulsory terrain. Tims
hills fell at the back of his central sector and on the left of his left sector
leaving lots of space for him to fight in. I also went for H(S) and a very
fortunate set of terrain rolls left the whole of Tim's central and left flank
sectors filled with a vast range of mountains. (The
terrain fell disastrously for me here - the photo is slightly deceptive due to
perspective, and the clear space was only about 1/3 of the table width. My
choices really were to be negative and deploy just enough of my army in the open
so as not to break my commands were t all to be lost and hide the rest in the
mountains - or line up very deep and hope to grind down the Swiss on a narrow
frontage. Which seemed more fun !
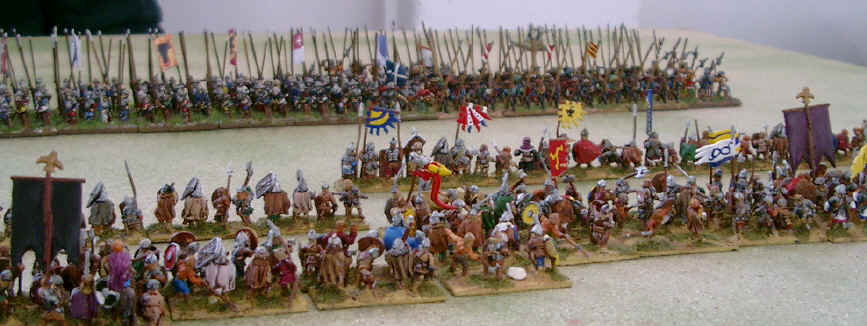
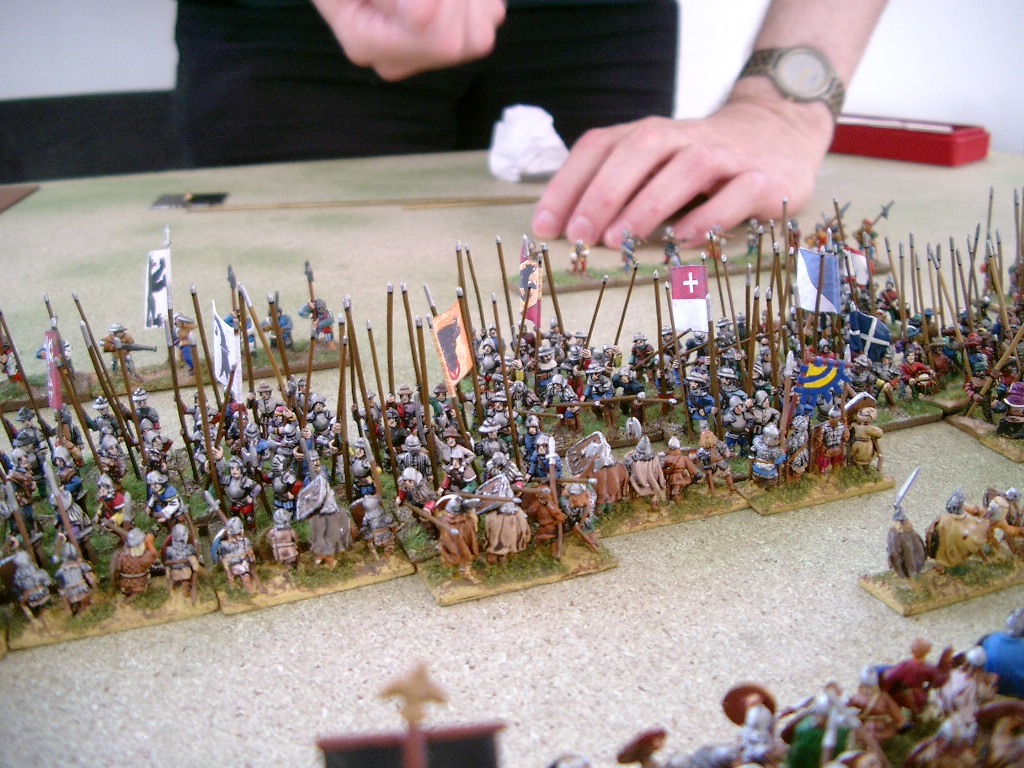
We were left with one sector to fight in. Tim deployed his CinC on his left with
some Bd and Ax holding the various ridges and valleys to cover his flank and the
rest of the Bd in three ranks in the gap. His second Bd command extended the Bd
line giving a total frontage of IIRC 12 elements of Bd three deep. The end of
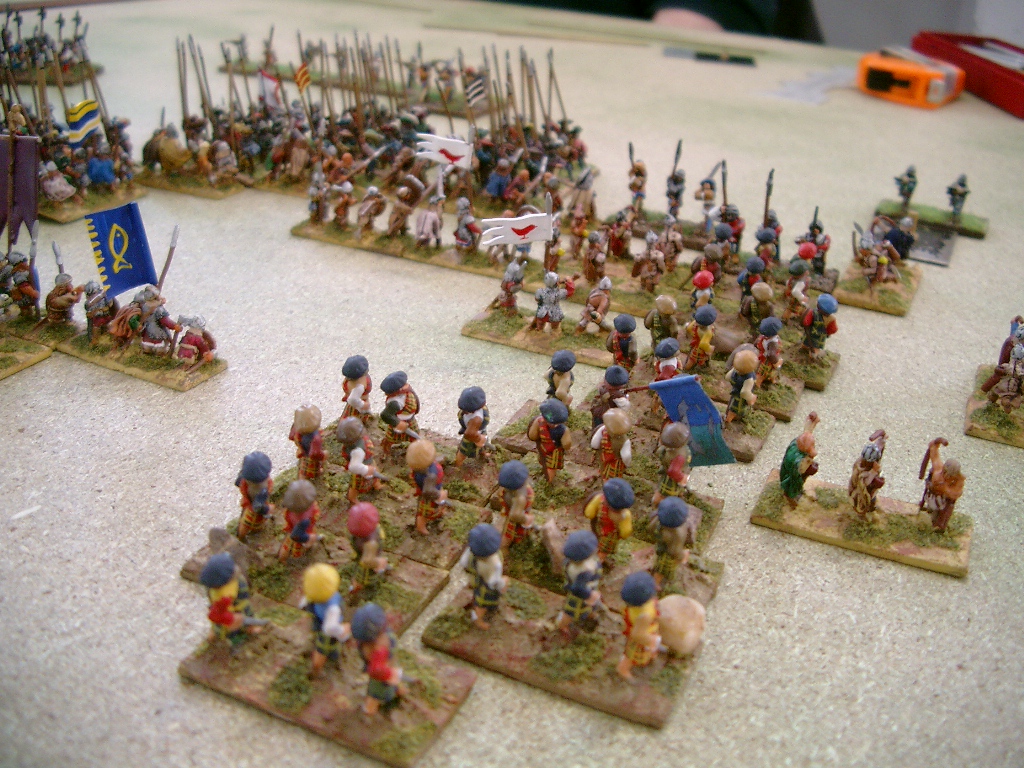
Tim's line was filled by the mounted Bw in 2 columns and the Highlanders were in
front of the Scotts camp. I had thought that there would be a flank march so was
reasonably happy to see them on the battlefield. I hoped
the mounted bow - moving first - may be able to expose the Swiss flank, and
create space for the warband to come on - effectively as an on-table flank
march. With them being an ally, and also thinking I would definitely need then,
the risk involved in sending my only troops capable of a decisive game winning
attack on a flank march was not one I really considered.
I had 11 files of Pk facing 12 of Bd, My CinC was on my left, then the Pk sub
and finally the Skirmish command. I had a couple of Bd(X) way to my right just
in case there was a serious attack there but
other than that the Bd(X) were extending my lines either side of the Pk.
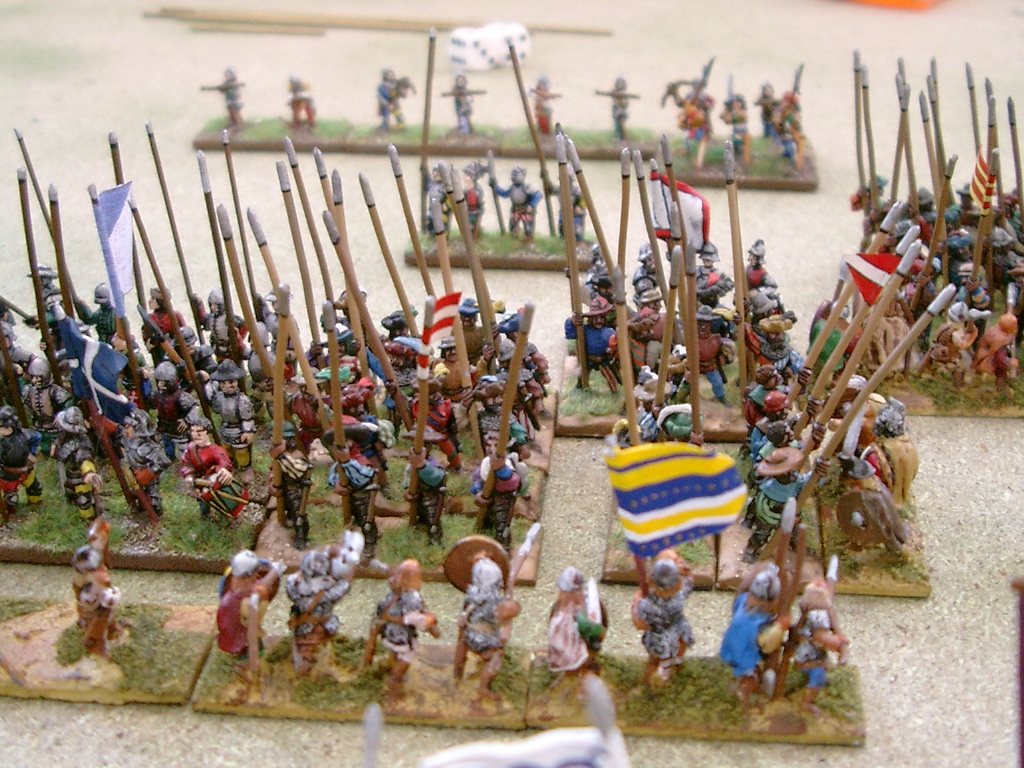
The Scots advanced and the Swiss did the same, as the lines neared the lead rank of Scots Bd separated to leave them recoil and death zone space. The Scots archers were engaged by a couple of Bd from my CinC, it was a forlorn hope on my part but the Bd did manage to delay things for a few critical bounds. Eventually the highlanders came to the assistance of the Bw and my left came under serious pressure. I'd managed to get my blade 3 lines deep, which was a result - decent separation, time to see how they fared In the main fight I had left two files of Pk and a Bd pinning four files of Bd, (It was a funny offset "oh, neither of us has room to slide into combat?" situation, which as I had blades to spare seemed quite advantageous to me - the rest of the Swiss had pushed on, creating an other flank for me to turn) this meant that there were 9 files of combat with one of my flanks secure and the other OK for a while but with a long term issue assuming that the Pk kept on advancing.
|
|
 |
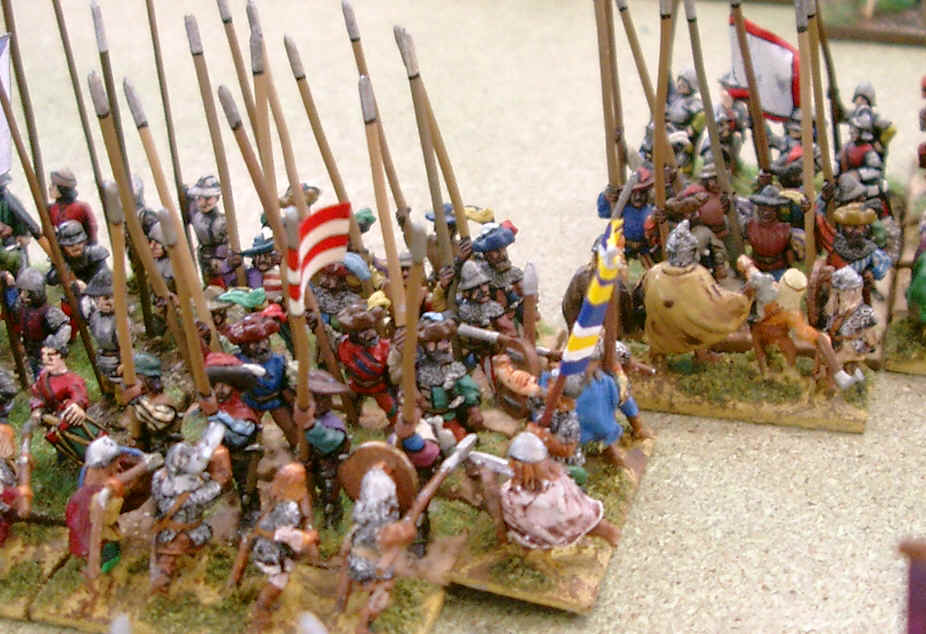
The main fight started on bound 3, by
bound 6 or so the file of Pk that I though might be in trouble was getting
exposed and as the smaller Bd command was in trouble (by
about now I had realized just how bad
the factors were in this battle - it was absolutely impossible for me to kill
any pike frontally except with a 5 or 6 - 1 result with two overlaps!! I guess I should
have realized this before I started this tactic, but hey!)
Tim took a risk and flanked that file of Pk blocking the second recoil of one of his own overlapped Bd. (no real risk - I had spotted that I had no chance frontally! Time to break some eggs...) The Pk file held but so did the Bd. I decided to take drastic measures to reduce the issues at this point in the battle and pulled back the rear ranks of the exposed file of Pk. This cost me 2 Pk but kept my line intact and with the CinC and spare Pk I was still 4 deep down the line. The same could not be said of the Bd. By now my forlorn hope was starting to look a little fragile, only one of the three Bd was left and there were masses of angry highlanders heading their way. (the damn blade X were holding up like dug in tiger tanks teleported back to 1941 - what could I do ? AAARGH!! |
 |
Some slightly unfortunate combats saw the previously exposed file of Pk exposed again and this time taken in the flank by Tim's sub general who after impetuous moves couldn't recoil. This time the Pk lost so my CinC was 6 elements down but both of the Scots Bd commands were close to breaking. (By now it was clearly a game of "Can I get one command?" - the game was lost, so everything was devoted to hanging on long enough to try some risky combats against the Swiss CinC's command to steal the last 2 elements)
A sleazy buttocks of death maneuver cost me one of the two elements required for
my CiC's command to break but in turn broke the Scotts sub and I was one element
from the Scotts army with several files of Pk in combat. I was expecting the
last Bd of my forlorn hope to die and take my CinC down but to win the game the
bound after (So was I!! 2 Deep warband against double
overlapped Bf (X)!!) I ask you !) . As it happened my Bd survived double overlapped
against Wb and pulled back on my bound and I got the required element to break
the Scotts CinC. (by now I was starting to worry about the
Galwegians. They had only managed to kill 1 element of Bd (X) all game - in lots
of combats!)
30-2 and another win for the Swiss.
This was a surprisingly interesting game despite the narrow combat. (right
up until the point I realised Bd cannot stand up frontally to Pk (S). No way.
Just Not Possible. Then the interest level receded significantly, and it just
became increasingly grim from where I sat !)
Without the crucial central hill it would have been a completely different game. I certainly lucked out with the terrain. (say that again, mutter mutter mumble mumble. If that last hill hadn't gone down...). If Tim had sent a flank march of the Highlanders (Galwegians) they would not have arrived before the game was over. (hmm, kept off table - where they may have been slightly more effective!)